If your site is static, like a one pager or a simple site that only requires HTML, CSS, and JavaScript, you can host it on Amazon Web Services S3 at a very low cost. S3 is typically used for storage purposes, but you can run a full blown static site just as easily. Let me show you step-by-step how you can do that.
AWS Account
The first thing you need is an AWS account. If you don't have one, head over to AWS and create an account.
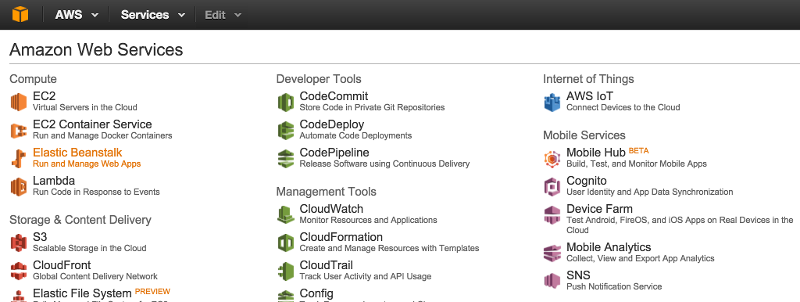
Log on to your AWS Account and select the S3 Service under Storage & Content Delivery in the AWS Dashboard:
Create Buckets
Buckets are containers to store objects (files and folders). You need to create two buckets: one for the root domain of your site and one for the www subdomain. Give buckets the same name as your domain, like so:
- Bucket for root domain:
yourdomain.com - Bucket for www domain:
www.yourdomain.com
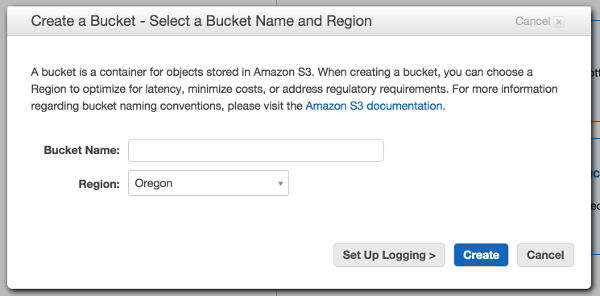
The default permissions on a new bucket are such that only the owner has access, no one else.
Redirect
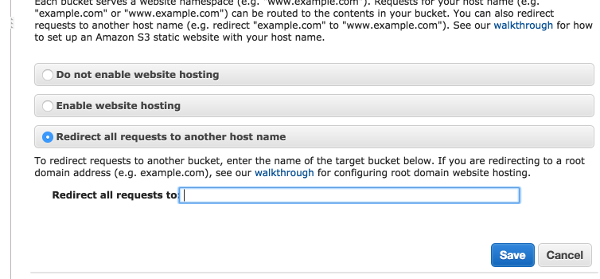
You need to redirect traffic from yourdomain.com to www.domain.com. You could do it the other way around if you want to, but in this example we'll stick to redirecting from the root domain to www. Follow these steps:
- Select the bucket
yourdomain.com - Select the Properties button
- Expand the Static Website Hosting section
- Select the option titled Redirect all requests to another host name
- Redirect all requests to:
www.yourdomain.com - Select Save button
Enable Website Hosting
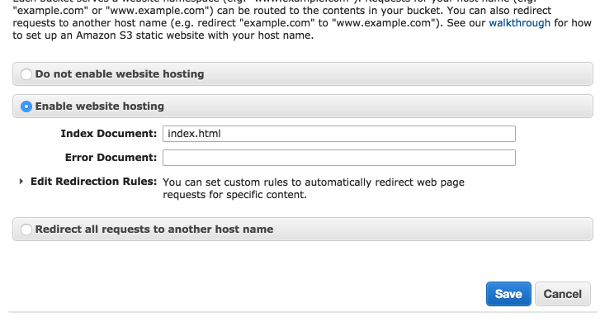
Now you need to enable website hosting for the www.yourdomain.com bucket. The steps are similar to the previous ones:
- Select the bucket
www.yourdomain.com - Select the Properties button
- Expand the Static Website Hosting section
- Select the option titled Enable website hosting
- In the box titled Index document enter
index.html - Select Save button
Permissions
Let's allow Read-Only access to the www.yourdomain.com bucket:
- Select the bucket
www.yourdomain.com - Select the Properties button
- Expand the Permissions section
- Select the Add bucket policy button
- Enter the following policy (be sure to replace yourdomain.com with your actual domain):
{
    "Version": "2012-10-17",
    "Statement": [
        {
            "Sid": "AddPerm",
            "Effect": "Allow",
            "Principal": "*",
            "Action": "s3:GetObject",
            "Resource": "arn:aws:s3:::www.yourdomain.com/*"
        }
    ]
}
This gives anyone the permission to "get objects" from the www.yourdomain.com bucket, including any of its folders.
Upload
While you're still in the www.yourdomain.com bucket, you can upload your index.html file (and all your site files):
- Select Upload button
- Follow instructions on the Upload screen
At this point your site should be accessible through the default endpoint URL: http://bucket-name.s3-website-AWS-region.amazonaws.com
For example:
http://yourdomain.com.s3-website-us-west-2.amazonaws.com
or
http://www.yourdomain.com.s3-website-us-west-2.amazonaws.com
Using Your Own Domain
To use your own domain, you need to set up your DNS records. For this, we'll use the Route 53 service, so go back to the dashboard and select the Route 53 icon under Networking.
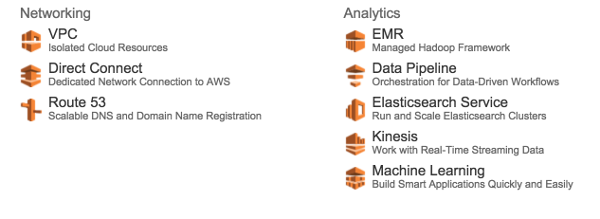
Follow these steps:
- Select Hosted zones
- Select Create Hosted Zone button
- Domain Name: yourdomain.com
- Type: Public Hosted Zone
- Select Create button
Create an A record for yourdomain.com:
- Select Create Record Set button
- Name: nothing (leave it blank)
- Type: A-IPv4 address
- Alias: Yes
- Alias Target: yourdomain.com (under -- S3 website endpoints --)
- Routing Policy: Simple
- Evaluate Target Health: No
- Select Save Record Set button
Now create an A record for www.domain.com:
- Select Create Record Set button
- Name: www
- Type: A-IPv4 address
- Alias: Yes
- Alias Target: www.yourdomain.com (under -- S3 website endpoints --)
- Routing Policy: Simple
- Evaluate Target Health: No
- Select Save Record Set button
Update DNS Servers on Your Domain Provider
You'll notice that you have an NS record that was created by default when you created the hosted zone. This NS record has four DNS servers. These are the DNS servers you need to enter in your domain provider records to direct your domain's traffic to AWS. So, head over to your domain provider, log on to your account and update your DNS servers there.
You're done. It's just a waiting game now. Once propagation has completed throughout the world's DNS servers, traffic will be properly directed to S3 and your site will be accessible via your own domain.
For more information on hosting a static site on S3, check out the AWS Docs.
Cheers!